Köhler Illumination
In the process of microscopy imaging, the optical illumination system is essential. The commonly used illumination methods include critical illumination and Köhler illumination.
Critical Illumination
Critical illumination was the most commonly used method in the early days of microscopy. Its principle involves directly illuminating the specimen with light from the source through a condenser, providing a high-brightness and focused field of view. However, since the light source directly illuminates the specimen, the filament’s image overlaps with the specimen, resulting in uneven illumination. Areas corresponding to the filament appear bright, while areas without the filament appear dim, affecting the image quality. Additionally, the intense direct light can potentially damage the specimen, thereby impacting the observation results.
Critical illumination is simple to design and set up, requiring fewer optical components, making it easy to operate and cost-effective. The light source is directly focused on the specimen, resulting in high light energy utilization, which is suitable for specimens that need high-intensity illumination. However, due to issues with uneven illumination and glare, the image quality is limited, making it unsuitable for high-resolution microscopy required at the research level. As a result, high-end microscopes no longer use critical illumination.
Critical Illumination
Köhler Illumination
Köhler Illumination
Köhler illumination, introduced by August Köhler in 1893, is a secondary imaging illumination method that overcomes the drawbacks of critical illumination. In Köhler illumination, the filament is not directly imaged onto the specimen surface, allowing the specimen to receive even and brighter illumination without producing glaring light. This makes it an ideal illumination method for modern microscopes.
How does Köhler Illumination work?
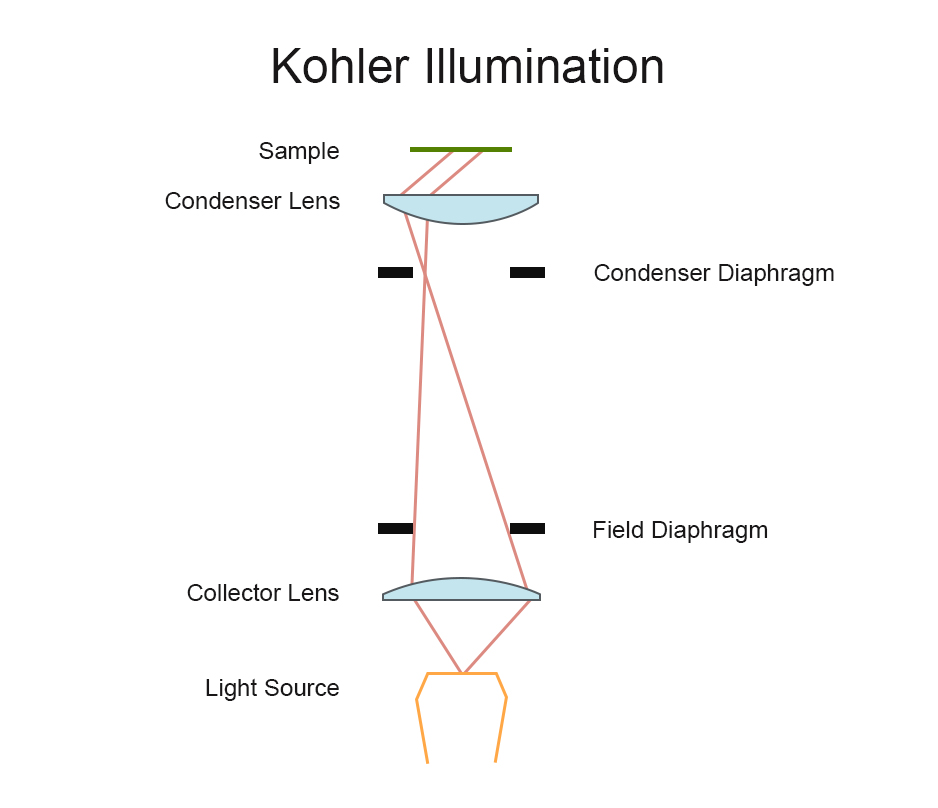
The filament of the light source passes through the field diaphragm and the condenser lens. The first image of the filament is focused on the plane of the condenser diaphragm, and the condenser lens creates a second image of the filament at its rear focal plane. This way, there is no filament image formed on the specimen, ensuring it does not interfere with observation and providing uniform illumination.
When observing, you can adjust the size of the condenser diaphragm to fill the entrance pupil of different objective lenses with light, thereby matching the numerical aperture (NA) of the condenser with that of the objective lens. Additionally, the condenser lens images the field diaphragm onto the specimen, allowing the illumination area to be controlled by changing the size of the field diaphragm. Moreover, the thermal focus of this illumination method is not on the specimen, so even with prolonged illumination, the specimen will not be damaged.
In Köhler illumination, the main optical components are the collector lens, field diaphragm, condenser diaphragm, and condenser lens, as illustrated in the diagram:
Collector Lens: Located at the front of the light source, the collector lens gathers light from the source and forms a beam.
Field Diaphragm: The beam first passes through the field diaphragm, which can change the diameter of the beam to control the size of the field of view.
Condenser Diaphragm: The beam then enters the condenser diaphragm, forming a complete image of the light source.
Condenser Lens: The condenser lens refocuses the parallel light beam from the condenser diaphragm onto the surface of the specimen.
The main role of the condenser diaphragm is to adjust the brightness and angle of light entering the condenser lens. By adjusting the size of the condenser diaphragm, the numerical aperture of the condenser can be matched with that of the objective lens. This process ensures that the specimen receives adequate illumination without the filament’s image appearing on the specimen surface, thereby enhancing image quality
Six steps for Köhler Illumination:
To address uneven illumination in microscopy imaging, calibrating Köhler illumination typically resolves the issue. The specific steps are as follows:
Focus the Specimen: Use a low-power objective lens (4x or 10x) to focus on the specimen, ensuring the condenser lens is at an appropriate distance from the slide.
Close the Field Diaphragm: Close the field diaphragm, which will create a bright circular spot in a dark background. The image may appear unclear at this stage.
Adjust the Condenser Lens: While looking through the eyepiece, slowly move the condenser lens up and down until the edges of the diaphragm are clearly in focus.
Center the Field Diaphragm: Use the condenser lens centering screws to position the bright spot from the field diaphragm in the center of the field of view.
Open the Field Diaphragm: Gradually open the field diaphragm until its edges just disappear from the view.
Adjust the Condenser Diaphragm:
If high contrast is needed, slightly close the condenser diaphragm.
If high brightness and resolution are required, gradually open the condenser diaphragm.
Typically, adjust the condenser diaphragm to about 70%-80% of the objective lens’s numerical aperture (NA). For example, for a 10x objective with an NA of 0.25, set the condenser diaphragm’s NA to around 0.175. This adjustment balances image brightness and contrast.
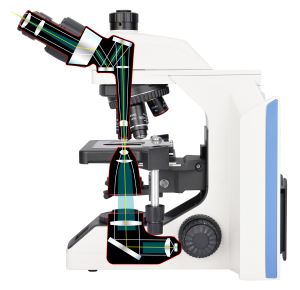
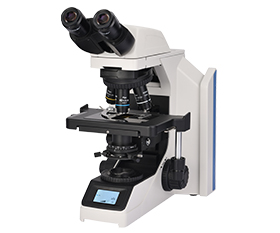
BS-2076T Trinocular Research Biological Microscope with Koehler Illumination