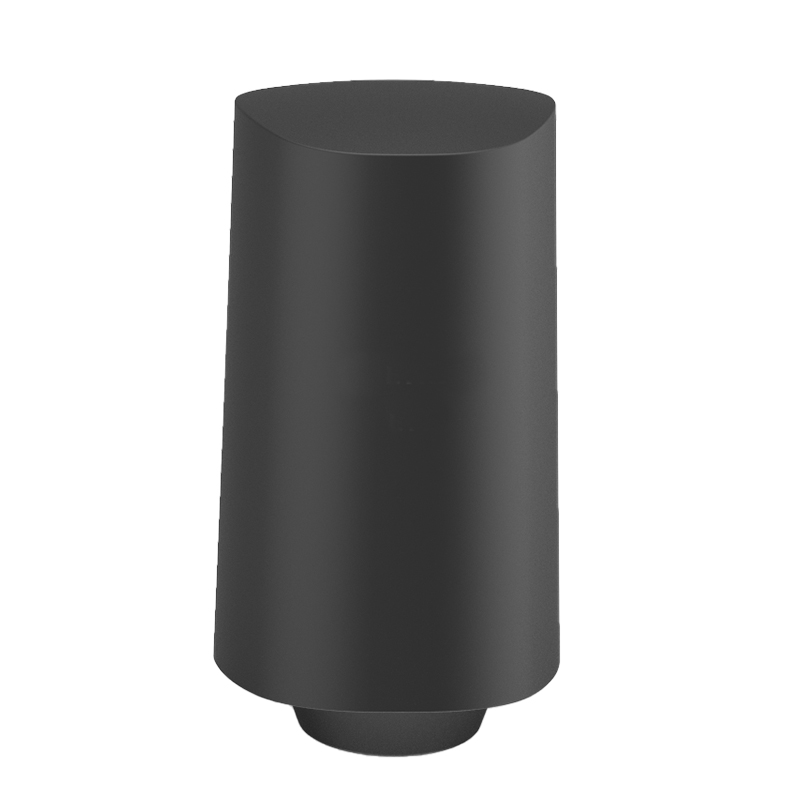
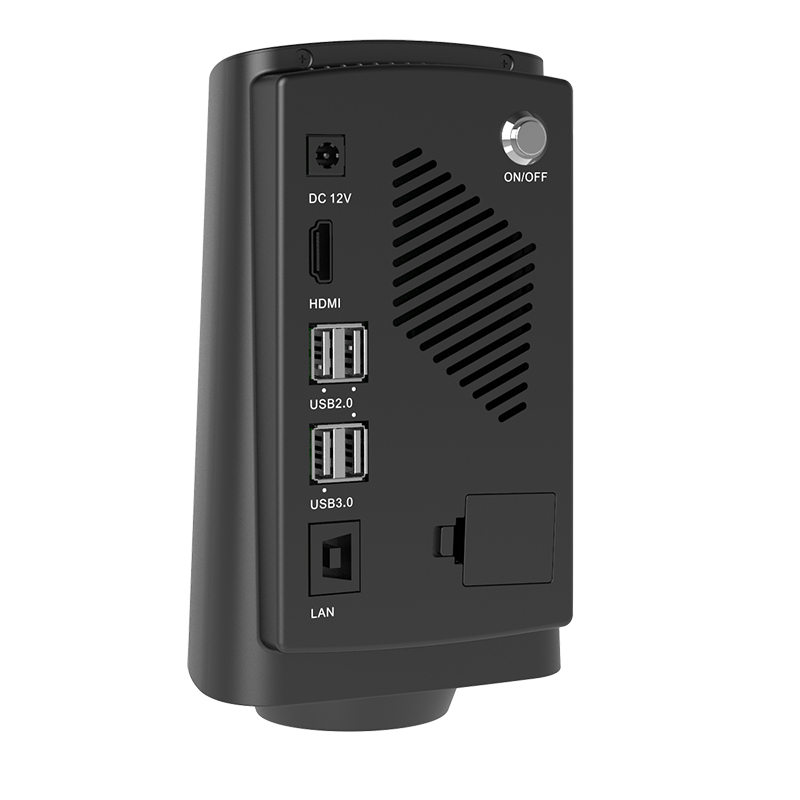
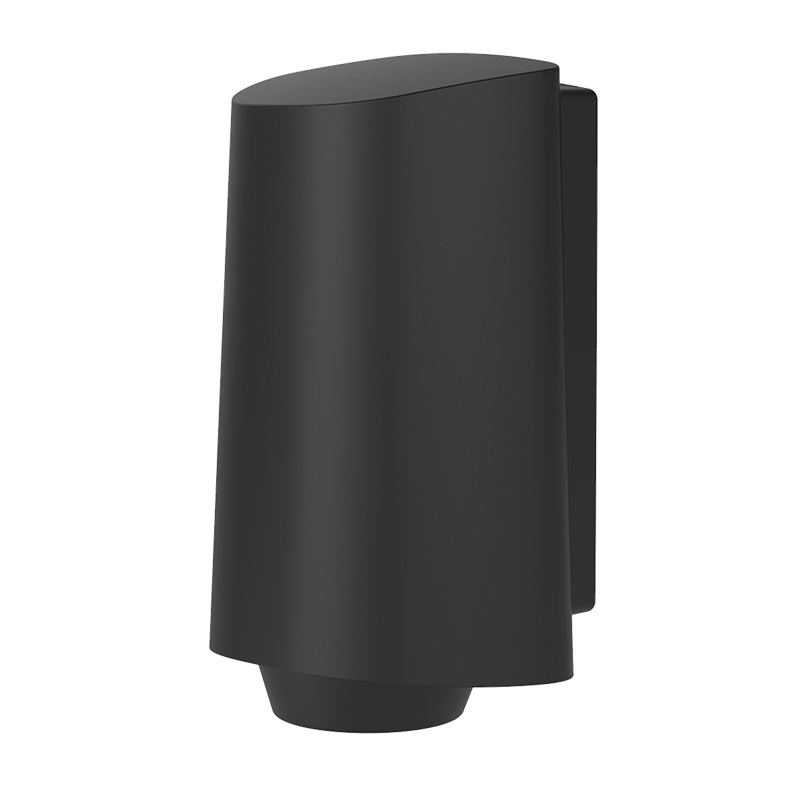
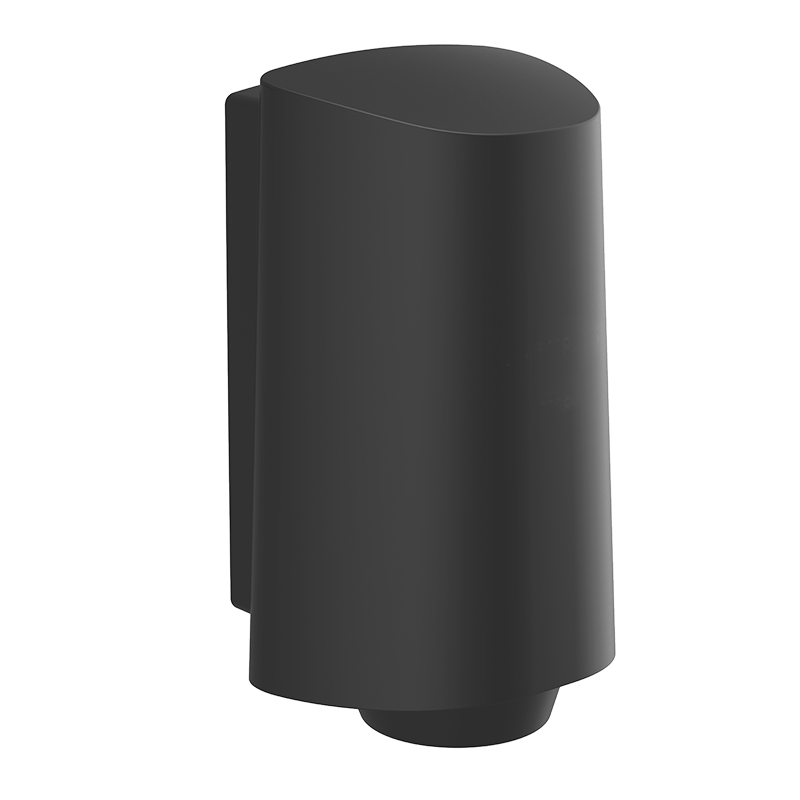
BC20 3D Super EDF Microscope Camera
Introduction
A smart camera that can directly obtain microscopic 3D images and measure them, upgrading observation and analysis competence of your microscope.
Details
Overview
Packaging & Delivery
Packaging Details:Strong Carton with Polyfoam Protection
Port:Beijing
Lead Time:Within 1-2 Weeks after Receiving Payment
Introduction
A smart camera that can directly obtain microscopic 3D images and measure them, upgrading observation and analysis competence of your microscope.
Features
1. 3D super EDF Microscope Camera
Easy to use: No computer required, perform 3D observation and measurement.
Wide applications: Equip with metallographic, stereo and other reflective microscopes.
Accuracy measurement: ±2um measuring accuracy for 2D&3D with 10x objective lens.
The camera integrates features of high integration and flexibility. It can be directly used on reflective microscopes without any additional modification. The operation is easy to be done and all functions can be completed with mouse. Its built-in core technology can offer strong smart linkage performance guarantee for microscopic system. Built-in intelligent heterogeneous host can replace computer to carry out plenty of calculating works directly, and the operation is speedy and stable. Real-time super depth of field and 3D modeling algorithm can contribute microscopic system to achieve comprehensive three-dimensional observation and measurement analysis. Meanwhile, the automatically edge recognition algorithm can also further improve the efficiency of microscopic observation and batch operation.
2. Core technology creates a strong linkage performance
A heterogeneous system
Possess ability for high-speed data calculation
Three computing algorithms
Super depth of field
3D modeling
Edge recognition
Four-in-one system
High-speed camera
Imaging analysis software
Z-axis motorize stage
High-performance host
Upgrading the capability of your microscope
2D observation
Super depth of field
3D measurement
2D auto measurement
3. Core technology creates a strong linkage performance
Open ‘Capture-Advanced imaging-EDF&3D’ function module in the software. Confirm the position of the upper and lower focal planes to be observed in the image with mouse. Click ‘EDF’. Then the camera will automatically fulfill the depth of field, showing all features on the image.
Real-time EDF for clear microscopic observation
Ordinary microscopes cannot focus on multiple layers at the same time under high magnification. It is easy to cause angle deviation, rotation and uneven focal plane by using third party software and hardware systems to expand the depth of field. The inner smart EDF algorithm of the camera can help solve these problems, capturing a clear and correct full-frame focusing image.
Real-time WDR to eliminate strong reflection
Strong reflections on the metal surface may lead to misjudgment of details. The camera provides its WDR function to capture the perfect exposed images by calculating data in real time from multiple images of different brightness levels.
4. Create 3D matrix and easily measure any location
Open ‘Capture-Advanced imaging-EDF&3D’ function module in the software. Confirm the position of the upper and lower focal planes to be observed in the image via mouse, and click ‘3D’. Then it will automatically complete 3D modeling. You can observe the real scene or pseudo-color model with 360° rotation.
5. Rich 3D measurement functions
The camera provides a wealth of 3D tools for easily measuring any position of the 3D model and recording the data in real time. With the metallographic microscope of 10X objective lens, the Z-axis measurement accuracy and repeatability is ±2μm and ±1μm. The higher magnification objective lens, and the higher precision data.
6. Automatic 2D measurement for your batch operation
The camera also features 2D intelligent image recognition to help you quickly set up the standard measurement pattern without manual precise positioning, and finish various batch measurement operations. With the stereo microscope of 2.5 times magnifying, the 2D automatic measurement accuracy and repeatability is ±5μm and ±3μm.
Quality judgment
For standard parts, it can automatically display OK/NG results of samples according to the set standard deviation range, improving the efficiency of quality detection.
Batch task
For non-standard parts, it can output the measurement data of all samples at one time by setting the similarity tolerance to improve the efficiency of batch tasks.
7. Report creation function
The camera can not only save images and video data, but also automatically create test reports with pictures and texts. All 2D and 3D data in the work- flow can be exported. The job was done when operation finished, easy and simple.
Specification
|
Item |
Description |
|
Camera Features |
|
|
Sensor |
Sony 1/2” color CMOS |
|
Resolution |
1080p (1920*1080) |
|
Pixel Size |
3.75μm*3.75μm |
|
Shutter Mode |
Rolling |
|
Scanning Method |
Progressive scanning |
|
Frame Rate |
60fps (Normal), 30fps (WDR) |
|
Gain |
Automatic/ Manual |
|
Exposure Time |
Automatic” 0.1ms-16.6ms, manual: 0.0001s-1s |
|
White Balance |
Automatic/ manual/ area |
|
Image Storage |
TIFF/JPEG |
|
Video Format |
AVI/ Mp4 (1080p) |
|
Advanced Features (Embedded) |
|
|
3D Noise Reduction |
Support |
|
WDR |
Support |
|
Real-time EDF |
Support |
|
Edge Enhancement |
Support |
|
Gamma Correction (Contrast) |
Support |
|
Color Enhancement |
Support |
|
Flat Field Correction |
Support |
|
Effect Mode |
Normal/ Negative/ Relief/ Grayscale |
|
3D Display and Measurement |
|
|
Online Calibration |
Support |
|
3D Display |
Pseudo-color/ real scene display, grid lines, 360° rotation |
|
3D Histogram |
Support |
|
3D Profile Measurement |
Height difference, curvature, area, roughness |
|
3D Surface Measurement |
Step height, volume, surface roughness |
|
Z Range (Depth of Field, 10X) |
230.00μm |
|
3D Measurement Accuracy (10X) |
±2μm |
|
3D Repeatability (10X) |
±1μm |
|
3D Measurement Report |
Support, editable template |
|
2D Measurement |
|
|
2D Calibration Ruler |
Support |
|
2D Manual Measurement |
Point-point, point-line, line-line, parallel, perpendicular, polygon, circle, arc, concentric, circle, circle-circle, angle |
|
Counter |
Manual |
|
2D Measurement Accuracy (10X) |
±2μm |
|
2D Repeatability (10X) |
±2μm |
|
2D Measurement Report |
Support |
|
Input |
|
|
Mouse Input |
USB mouse |
|
Keyboard Input |
USB Keyboard |
|
Interface |
|
|
Optics |
Standard C-mount |
|
Video |
HDMI 2.0 |
|
Internet Connection |
Fast Ethernet |
|
USB |
USB 2.0*3, USB 3.0*1 |
|
Others |
|
|
Storage Capacity |
Built-in 32G Emmc |
|
Power Supply |
12V 8A |
|
Weight |
2.5kg |
|
Appearance size (W*H*D) |
87cm*181cm*103cm |
|
Working Environment |
5℃-40℃ (temperature), 45%-85% (humidity) |
Sample
Material section analysis
Speciality material
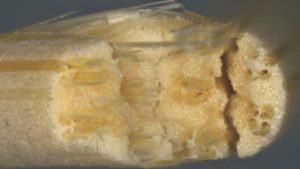
Bamboo product

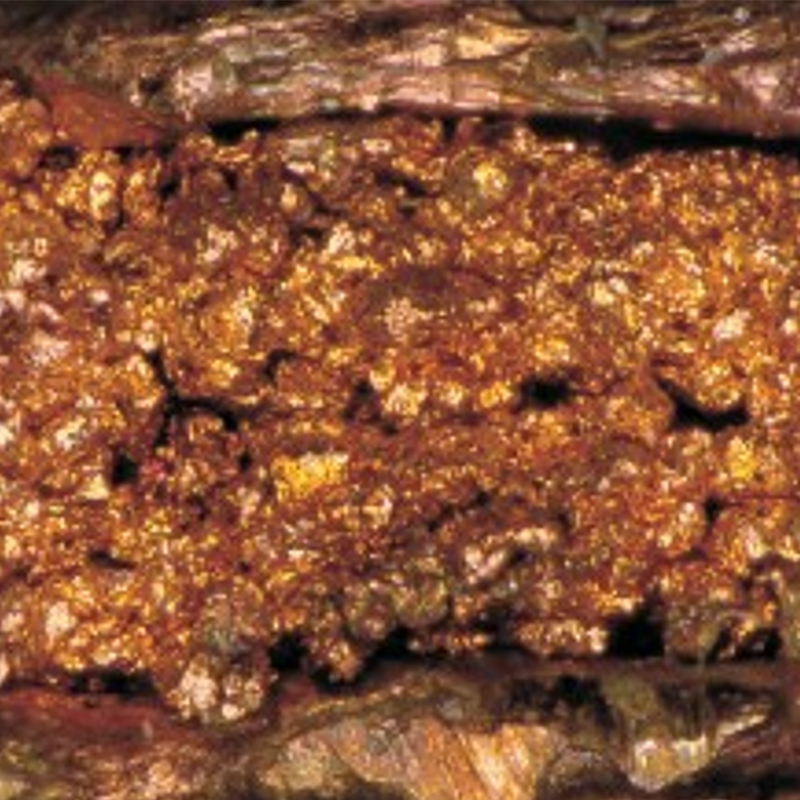
Copper bar
Surface trace detection
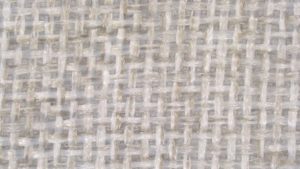
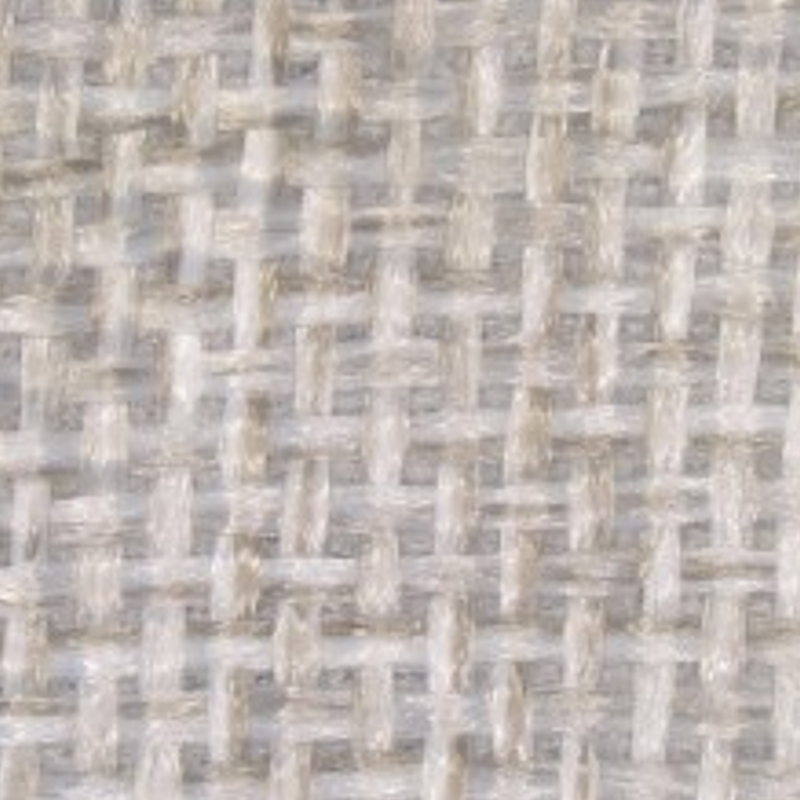
Weaving grain
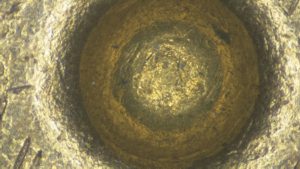
Cartridge case

Conductor side
Biology observation

Flower pistill
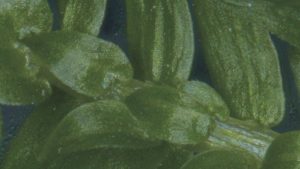
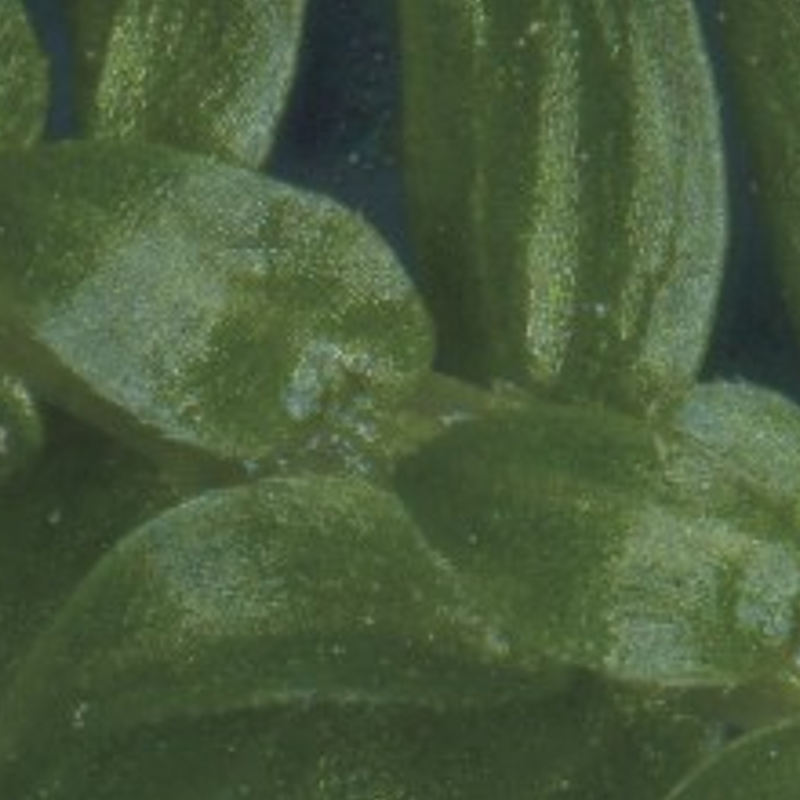
Stem leaf

Insect
Component measurement
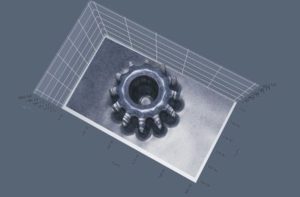

Watch Gear
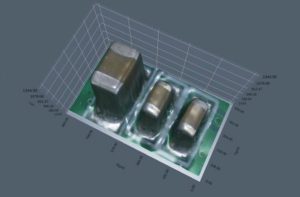

PCB Board
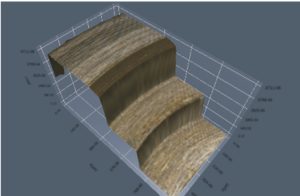

Axle


